hra fb twitter
sheffield
header

Casting - Cores and Prints

First First Previous Previous uparrow Back to Index Next Next Last Last
38 records found. Page 2 of 4 displayed.

For most of the photos on this page, you can click the image for a larger picture.

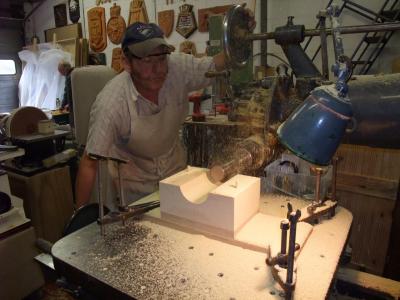
Highslide JS Here, we are on Ruth's pattern mill. My left hand is controlling the depth, my right hand is running the table and it also if required, the table rotates.
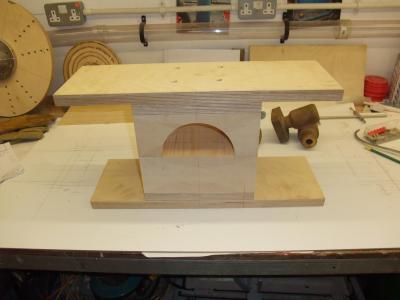
Highslide JS Next, setting up the second half. The long bits of ply are to hold the core box section down on the mill.
Highslide JS A good example of the pattern and its core box.
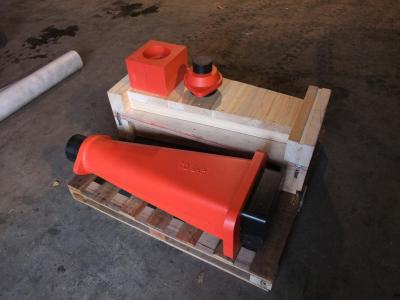
Highslide JS Now we move to the foundry with the patterns on the foundry floor at Ballantines of Bo'ness/
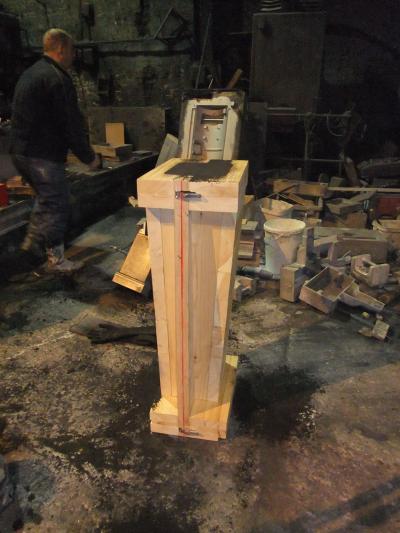
Highslide JS The core pattern has now been filled with core sand and left to cure.
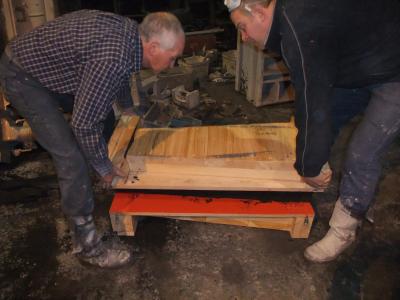
Highslide JS This is where the male core is removed from the core box. The pattern maker ensures that any flat surfaces have a slight "draw" (i.e. a taper) so that the core does not get trapped in the box.
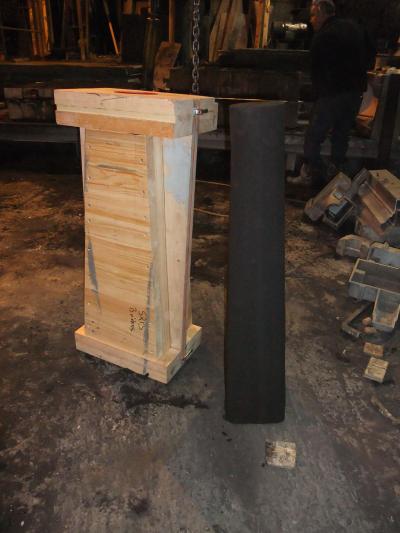
Highslide JS The finished core
Highslide JS The blast pipe core is being removed from the core box. The large white box in the background is another example of a core box.
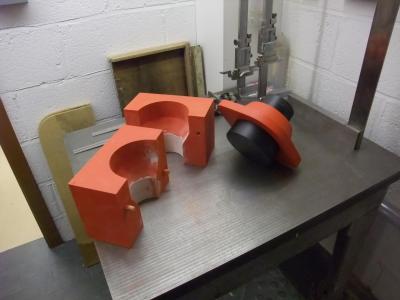
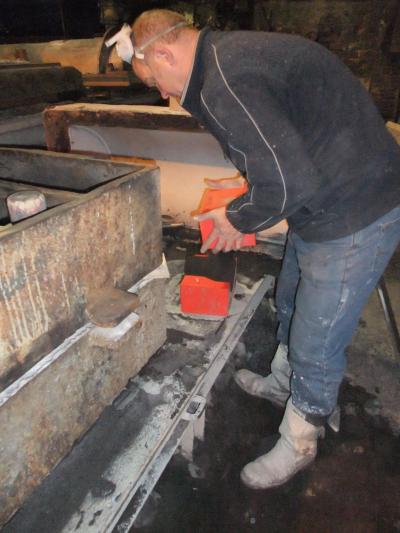
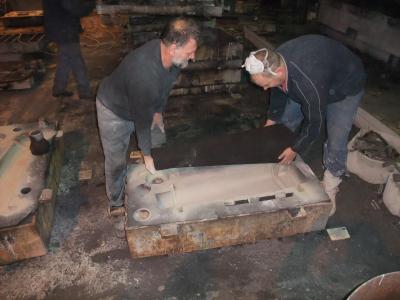
Highslide JS The main pattern is placed in a casting box and foundry sand is packed around the pattern. In the photo you can see the 2 halves of the pattern. The core is being added to the mould. In the top left hand corner you can see the mould for the blastpipe cap. On the left hand side of the image you can see the core for the cap waiting to be fitted
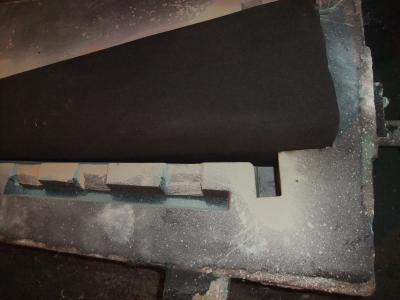
Highslide JS The core in place. It's difficult to see the gap between the core and the pattern mould - this will be filled with the molten metal.
First First Previous Previous uparrow Back to Index Next Next Last Last
38 records found. Page 2 of 4 displayed.