hra fb twitter
sheffield
header
Rail200

Frame Assembly Phase 1

First First Previous Previous uparrow Back to Index Next Next Last Last
82 records found. Page 3 of 9 displayed.

For most of the photos on this page, you can click the image for a larger picture.

Highslide JS June 2020

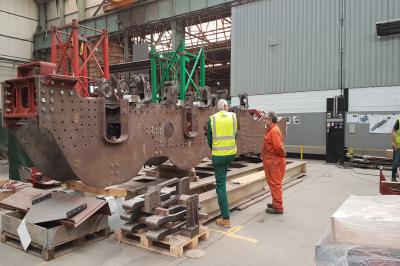
After machining, the frames were turned upside down to assist with the refitting of the stretchers. Chris and Pete discuss the set up.
Highslide JS June 2020

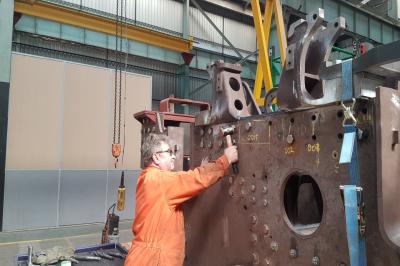
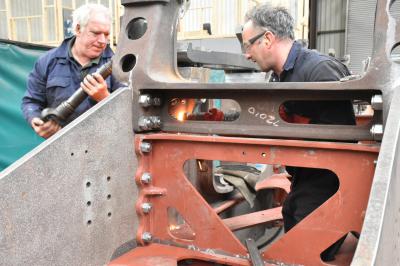
After confirming that the fit between the stretchers and the frames was correct, we could start to install the fitted bolts. Pete from CTL Seal drives in a bolt using a copper head mallet.
Highslide JS June 2020

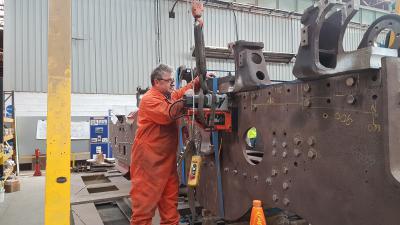
Pete drills and reams more of the stretcher bolt holes. Note how the frame keeps (fitted upside down for now) have been fitted to unsure everything is in the right place. Tie down straps ensure that the stretchers are bedded down firmly onto the frame plates.
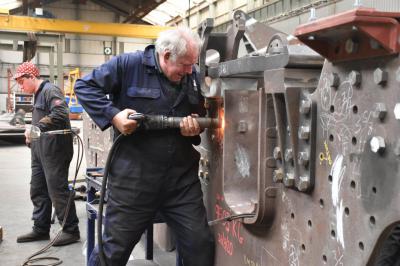
Highslide JS These bolts are 1.25 inch BSW which requires a large nut needing a high torque wrench setting. CTL Seal use a hydraulic torque wrench to take the strain out of the job.
Highslide JS August 2020

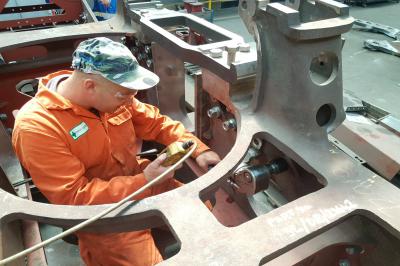
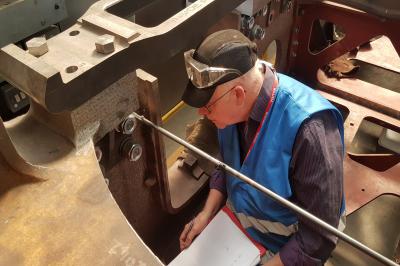
John Hind is using an internal micrometer to check the distance between the frames. Note that these nuts are not fully tightened. We had identified that there was a fouling issue between the 4 horizontal bolts securing the stretcher to the frame and the 4 vertical bolts securing the frame keep to the stretcher. We decided to resolve the problem by replacing the 4 horizontal bolts with rivets.
Highslide JS August 2020

Varley Boilers came into to do the riveting. The hot rivet is inserted from the inside and then both riveters get to work.
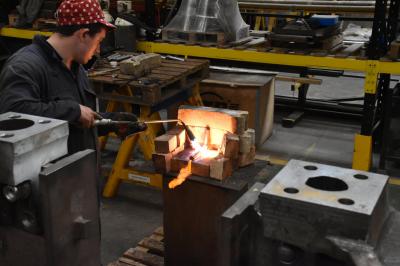
Highslide JS Rivets are heated in a hearth.
Highslide JS August 2020

Not the easiest of jobs!
Highslide JS September 2020

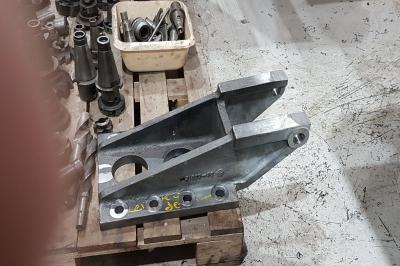
This is one of the trailing spring hanger brackets. We did not have a drawing for this part so a careful study was made of 71000 Duke of Gloucester and a drawing was produced from that study.
Highslide JS September 2020

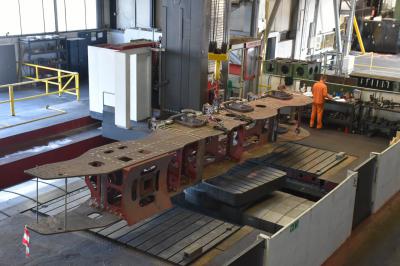
Time for the big job. Now that all of the permanent fittings have been installed, we were ready to start the job of machining the hornguides. These are the castings that have been welded into the frame plates which will contain the driving wheel axleboxes. The whole frame assembly was transferred to CTL Seal's Juaristi machining station. This had the capability of machining both sides of the frames without having to move the frames. This is the frame assembly in place before strapping down to the bed starts.
First First Previous Previous uparrow Back to Index Next Next Last Last
82 records found. Page 3 of 9 displayed.