hra fb twitter
sheffield
header
Rail200

Frame Assembly Phase 1

First First Previous Previous uparrow Back to Index Next Next Last Last
82 records found. Page 5 of 9 displayed.

For most of the photos on this page, you can click the image for a larger picture.

Highslide JS May 2021

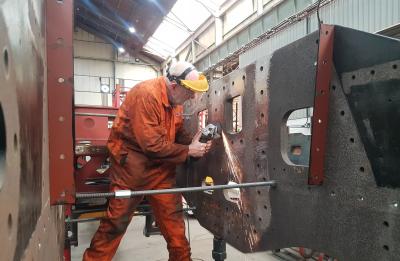
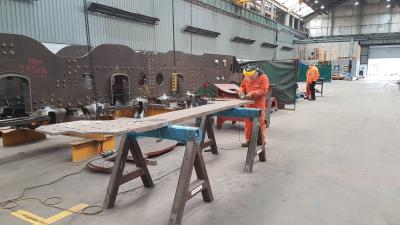
With the smokebox saddle removed, Dave can examine the frame plates and identify the high spots. He then gets to work with the angle grinder.
Highslide JS May 2021

This picture shows the operation at an early stage and the areas where the high spots have been worked can be seen by the marking. The job took about a week and the smokebox saddle was removed and inserted about 8 times in each day. A lot of nuts were tightened and loosened during the work!
Highslide JS May 2021

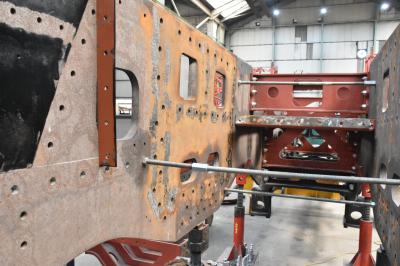
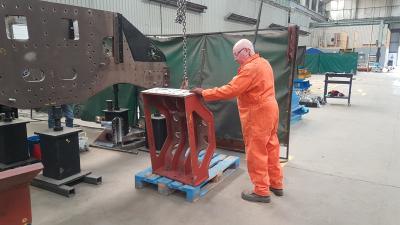
The smokebox saddle has been removed so that the bogie pivot stretcher can be installed. We had checked that the pivot fitted correctly to the stretcher with the stretcher upside down. Bob turns it the right way up before installation.
Highslide JS May 2021

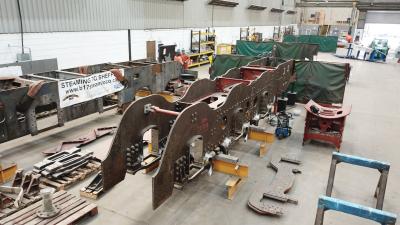
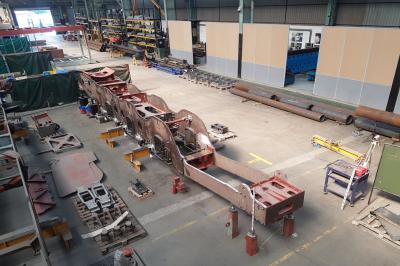
This was the situation in May 2021. The bogie pivot stretcher and the smokebox saddle are about to be fitted and we are about to start work on fitting the frame extensions at the rear of the frames. A pair of bogie frame plates can be seen alongside the frames.
Highslide JS May 2021

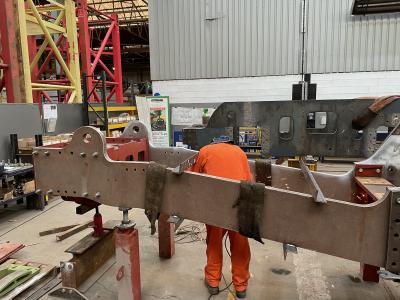
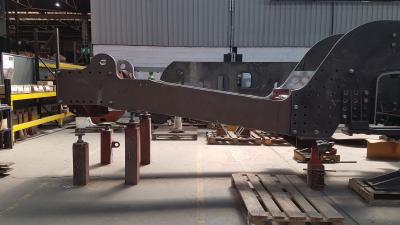
The frame extensions sit below the ashpan so, to allow access, there are no stretchers between these frame plates. In order to provide strength, the frame extension plates are 2 inches thick whereas the main frame plates are 1.25 inches thick. First job is to ensure that there is a radius on all of the edges to avoid stress cracking.
Highslide JS May 2021

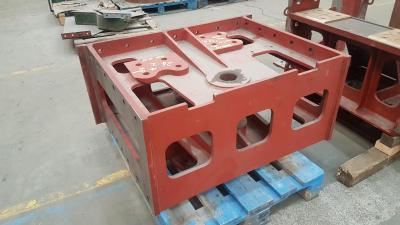
This is the dragbox that will be fitted at the rear of the frame extensions. This had been manufactured a few years previously. Unfortunately (or fortunately!) we found that this design of dragbox had suffered from serious damage in the late 1950s and British Railways came up with a new design. More details can be found about the new design in the Construction -> Design section.
Highslide JS May 2021

Angle sections have been tack welded to the frame extensions to ensure that they are parallel and in alignment with each other. The dragbox has been fitted.
Highslide JS July 2021

The height of the dragbox relative to the main frames must now be set correctly. The left hand stands have been set to the right reference level, in relation to the main frames, using a dumpy level. The screw jacks are used to set the bottom edge of the frame extensions to the correct height above the reference level. The temporary bolts securing the frame extensions to the main frames can then be tightened.
Highslide JS July 2021

The additional length of the whole frame assembly can now be seen. Note the dumpy level on the right
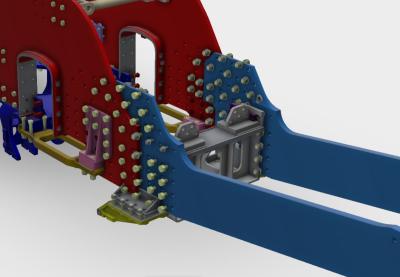
Highslide JS The join between the main frame plates and the frame extensions is complicated by the area being shared with the front firebox support and pony truck pivot stretcher. This requires a couple of packing plates so in some areas the fastening bolts have to pass through 4 different components. All of the holes have to be concentric so that the fitted bolts will do their job. The main frame plates are red coloured, the frame extensions blue and the firebox support stretcher is grey.
First First Previous Previous uparrow Back to Index Next Next Last Last
82 records found. Page 5 of 9 displayed.