Here are the diary entries for this month. You can use the forward and backward links to see the next or previous months. Most photos taken before 2018 are small size. From 2018 onwards, most photos you see below will have a link to a full size image by clicking on the photo.
| Reversing Gear Handwheel Handle |
| 04/01/2021 |
| |
 |
| |
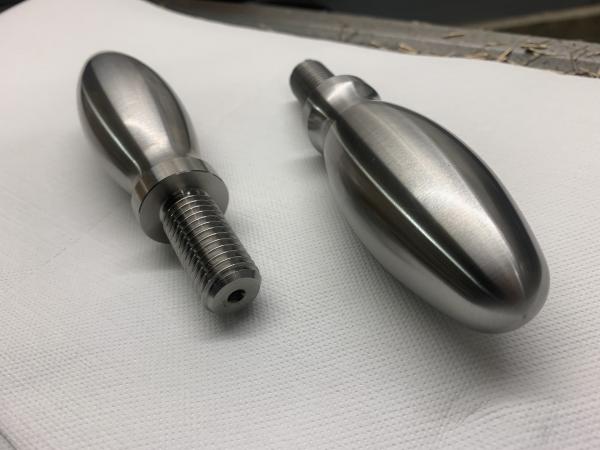
Over the Xmas break Ian C, who is one of our members, has been in his workshop working on some of the reversing gear components. This is the handle for the reversing gear handwheel that Ian has produced. One is for 72010, the other is for a 76000 Standard Class locomotive. |
| |
|
| Cylinder Pattern Progress |
| 11/01/2021 |
| |
 |
| |
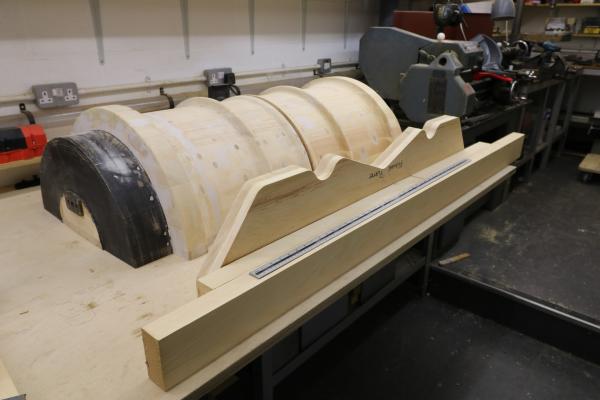
Tony is now working on the patterns for the flange plate and the webs that connect the flange plates to the cylinders. Here is the first view of the 2 halves of the cylinder pattern sitting on the bench together with the flange pattern. This will form the bottom of the 4 layers that will make up the complete pattern. Tony has just taken delivery of a batch of wood so that he can start making the webs. |
| |
|
| CAD Modelling Progress |
| 11/01/2021 |
| |
 |
| |
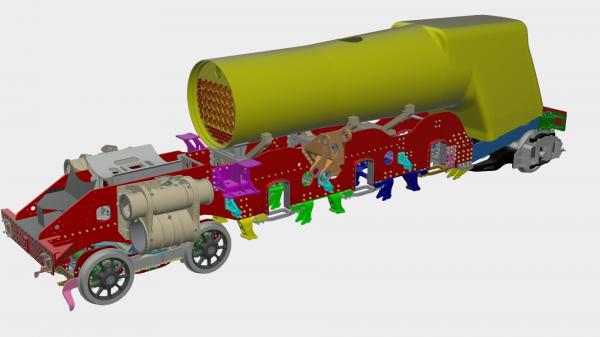
Keith has been working on the CAD modelling for the boiler and has now completed the outer shell and front tubeplate. He's updated our assembly model with the boiler |
| |
|
| Reverser Gear Operating Mechanism |
| 18/01/2021 |
| |
 |
| |
Ian C has produced another item for the Reverser Operating Mechanism. This is the cover that fits behind the main operating handwheel. The handwheel is attached to a shaft going into the housing; an oil seal will be fitted inside the cover. |
| |
|
| Hornguide Lubrication |
| 18/01/2021 |
| |
 |
| |
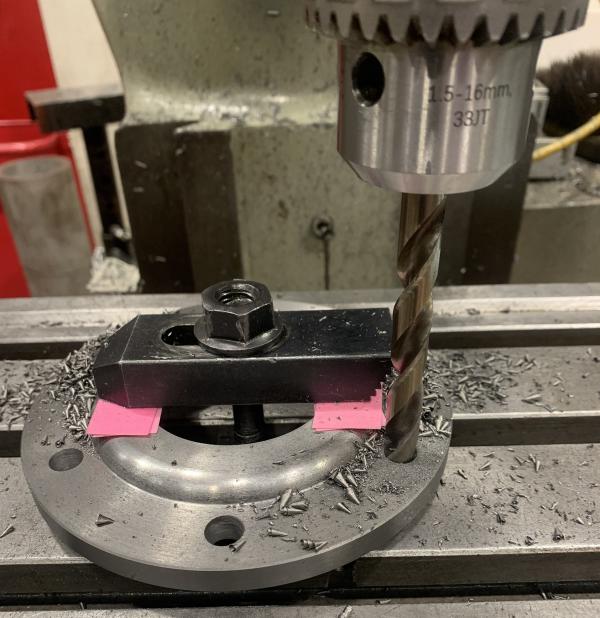
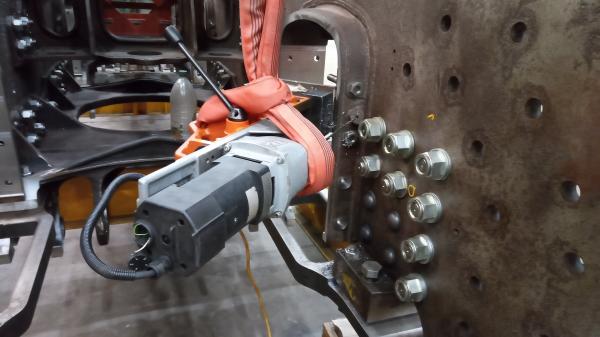
The final job on the hornguides is to drill and tap the grease lubrication holes to the hornguide faces. As these go onto the hornguide at an angle, it was decided to do this back in the assembly shop using a jig for the drill. Here you can see the hole being drilled out. The next stage was to drill and tap for a 1/2" BSP pipe fitting. One of our early jobs, once the frames have been painted, will be to fit the pipework for the hornguides. For the sharp eyed, the bolts on the right are temporary fitting. |
| |
|
| Tender Modelling |
| 20/01/2021 |
| |
 |
| |
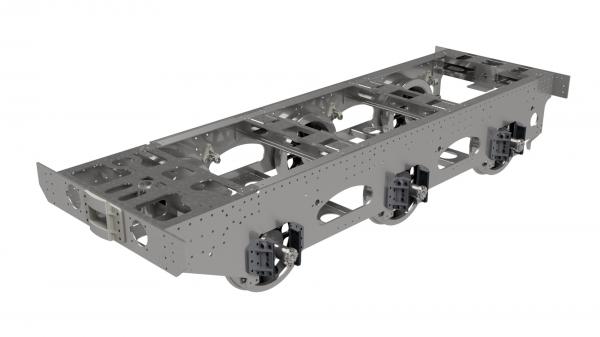
Up in the North East, James has been modelling the BR1F tender frame. There's a high probability that we've got to fit the air braking cylinders in here. We gain a bit of space as there is no need for the substantial water scoop gear to pick up water from water troughs |
| |
|
| Bogie Pipework Fittings - 1 |
| 25/01/2021 |
| |
 |
| |
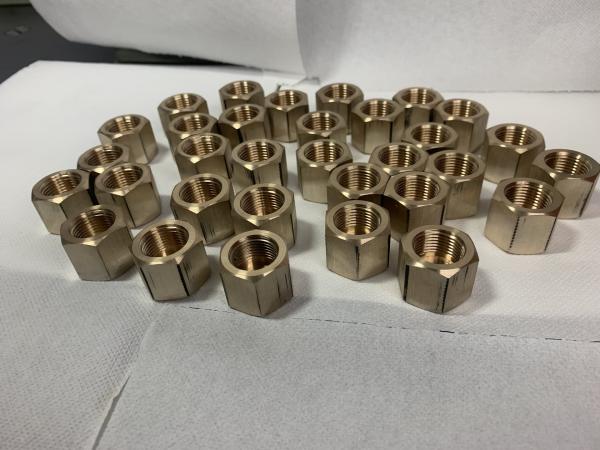
Ian C has just finished 32 pipework union nuts for 1/4" outside diameter grease pipes. These will be used on the bogie for the axlebox guide lubrication. All of the nuts were individually screw cut on the lathe, not using a tap! |
| |
|
| Bogie Pipework Fittings - 2 |
| 25/01/2021 |
| |
 |
| |
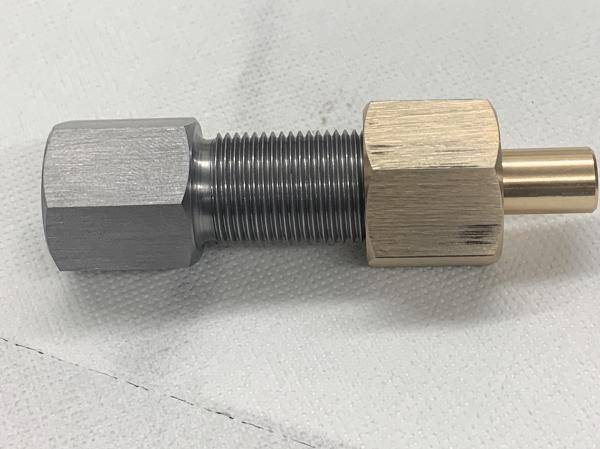
This is how it goes together. The grey steel part is a bulkhead adapter. This is fitted onto a plate which is welded to the outside ends of the main bogie stretcher, one per side. The plate has 5 holes for 5 bulkhead adapters which are ratined by a plain nut. On the left hand side (in the photo) a grease nipple will be fitted. The right hand side of the bulkhead has a internal female taper. The brass nut fits over a separate coned fitting which engages with the female taper. Tightening the nut ensures the cone is mated with the taper and forms a seal. Protruding to the right is a tube which is an extension of the cone fitting. This has an internal diameter of just over 1/4". The cone fitting will be silver soldered to the lubrication pipe. |
| |
|
| Buffer Beam Gussets |
| 25/01/2021 |
| |
 |
| |
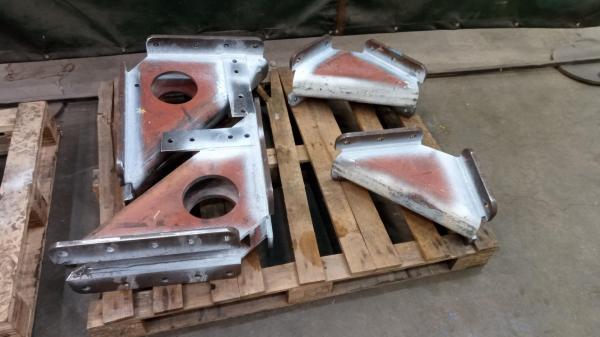
These are the 4 buffer beam gussets that fit behind the buffer beam and are riveted to the frames. The 2 on the left sit outside of the frames. Currently they are upside down and the front footsteps are bolted to the flat plate with 4 holes. The 2 on the right are the inside gussets. Initially the gussets came as a kit of bits with 4 flange plates and 2 half U shaped plates. They have all been welded together by CTL Seal. The final check will be for squareness and minor fettling may be required, if necessary. The next job will be to temporarily bolt the gussets in place and open out the fixing holes for the right size for riveting. |
| |
|


